

By converting your MP4 files to DVD, you can easily play them on any standard DVD player, making it convenient for sharing with friends and family. Additionally, creating DVDs ensures that your videos are preserved in a durable and long-lasting format, protecting them from digital file corruption or loss.
In this step-by-step guide, we will walk you through the entire process of converting MP4 to DVD, from choosing the right MP4 DVD converter software to customizing the DVD menu and burning the final product.
Choosing the Right Software for MP4 to DVD Conversion
DVDFab DVD Creator can create standard DVD formats that are compatible with home players
from over 200 videos including MP4 files.Additionally, if desired, you can save your output files as standard DVD ISO files or folders. It offers a wide range of customization options, allowing you to personalize your DVD menu, add subtitles, and choose from different templates.
Whether you are a beginner or an advanced user, DVDFab DVD Creator caters to a wide range of skill levels, making it an ideal choice for anyone looking to convert MP4 files to DVD seamlessly.
Step-by-Step Guide to Convert MP4 to DVD
Step 1: Installing DVDFab DVD Creator
To begin the installation process, simply download the software from the DVDFab official website. Once the download is complete, locate the setup file in your downloads folder and double-click on it to initiate the installation wizard.
After the installation is complete, you can launch the MP4 to DVD converter software by clicking on the desktop shortcut or finding it in the start menu.
Step 2: Select DVD Creator module and import the MP4 File
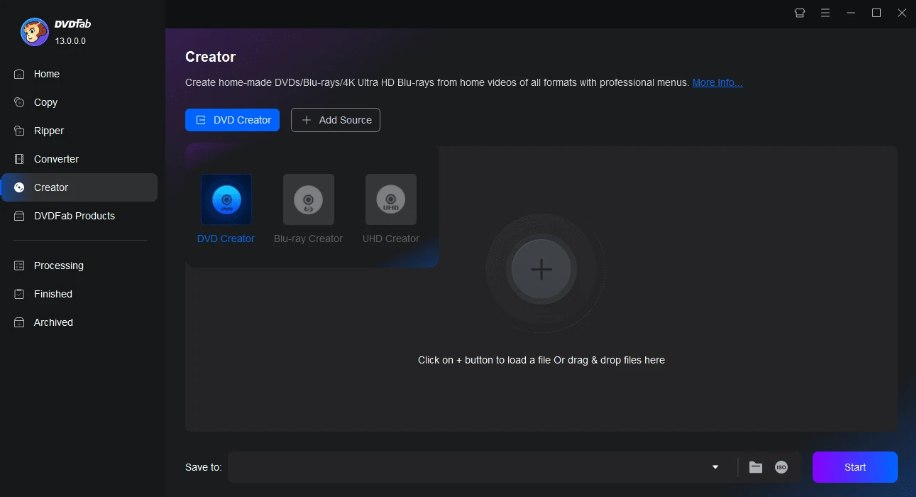
Run DVDFab and select the Creator > DVD Creator module. Click on the the “ +Add Source”button to import or add files, or by simply dragging and dropping the file onto the main page.The software will then begin to upload the file into the converter. Depending on the size of the MP4 file and the speed of your computer, this process may take a few moments.
Step 3: Adjusting the Settings for DVD Conversion
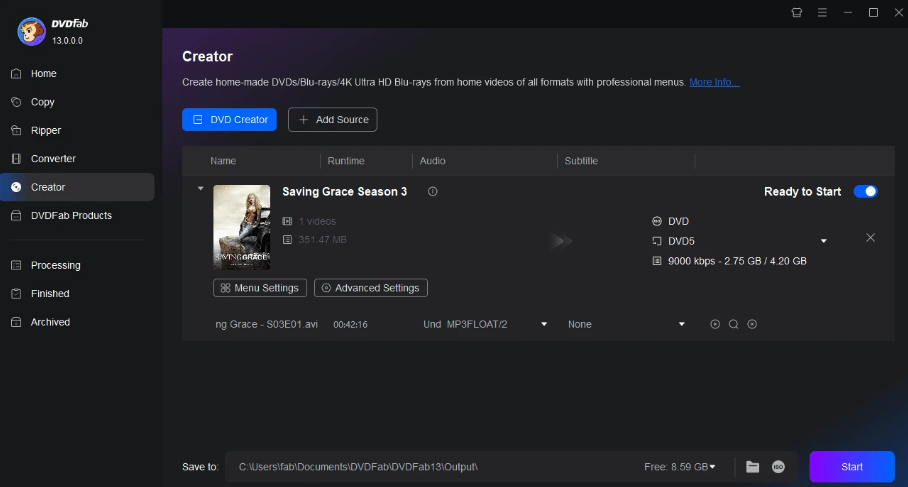
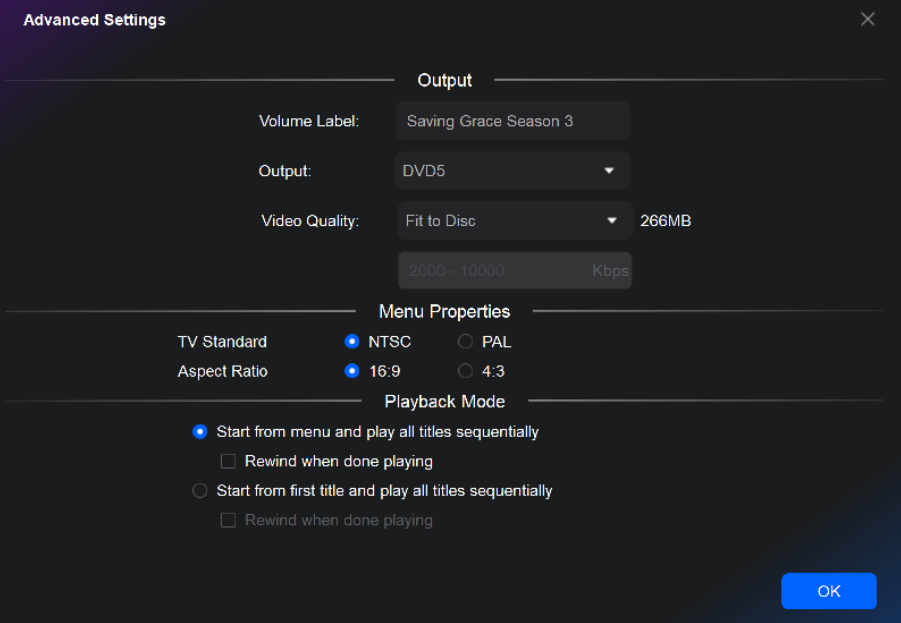
You can select your preferred audio tracks and subtitles. If the video doesn’t come with subtitles, you can add external ones. Additionally, you have the option to click the “Advanced Settings” button to customize various settings, such as Volume Label, choosing the output format as DVD-9/5, selecting Video Quality, and choosing the playback Mode.
Step 4: Customizing the DVD Menu
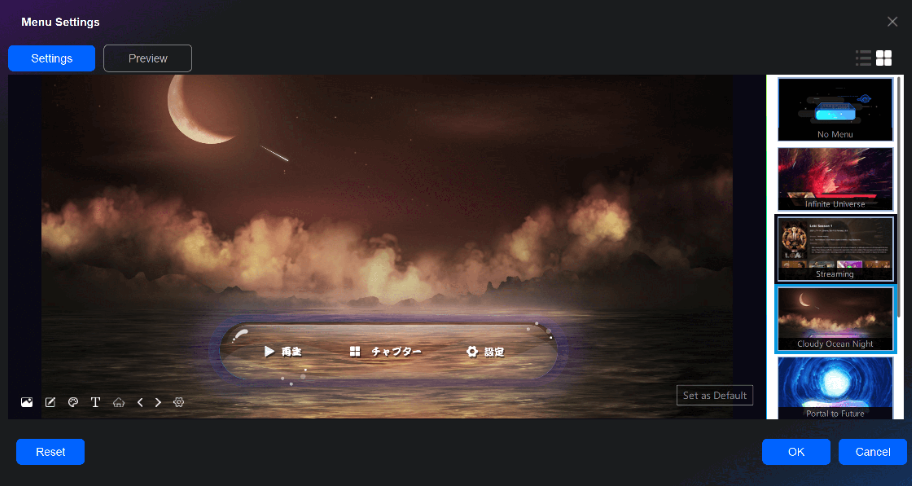
By clicking the “Menu Settings” button, you can access the built-in DVD menu creator.
The software offers multiple DVD menu theme templates and backgrounds, and you can also upload images as menu backgrounds. Additionally, you can choose the font, size, and color of custom text in the DVD menu to make it visually appealing and easy to read.
Step 5: Initiating the MP4 to DVD Conversion Process
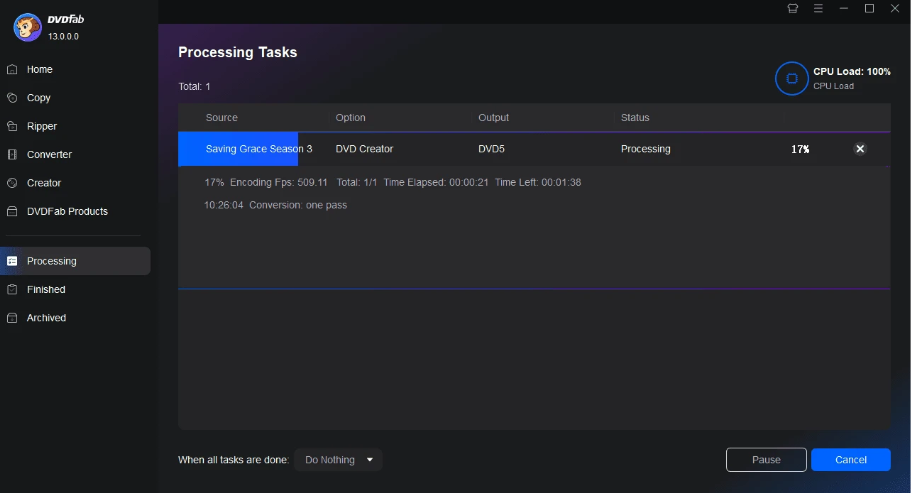
To begin the conversion process, simply click on the “Start” button within the software interface. Depending on the size of the MP4 file and the speed of your computer, the conversion process may take some time to complete.
During this time, it’s important to avoid closing the software or shutting down your computer, as this could interrupt the conversion process and result in an incomplete or corrupted DVD.
Once the conversion process is complete, you will be notified by the software that your DVD is ready to be burned. At this point, you can proceed to the final step of burning the converted DVD onto a blank disc.
Conclusion
Converting MP4 to DVD is a versatile and practical way to preserve and share your digital videos with friends and family. By following the steps outlined in this guide and incorporating your own creative flair, you can transform your MP4 files into lasting physical mementos that can be enjoyed for years to come. By following the step-by-step guide outlined in this article, you can easily transform your digital videos into physical DVDs that can be played on any standard DVD player.