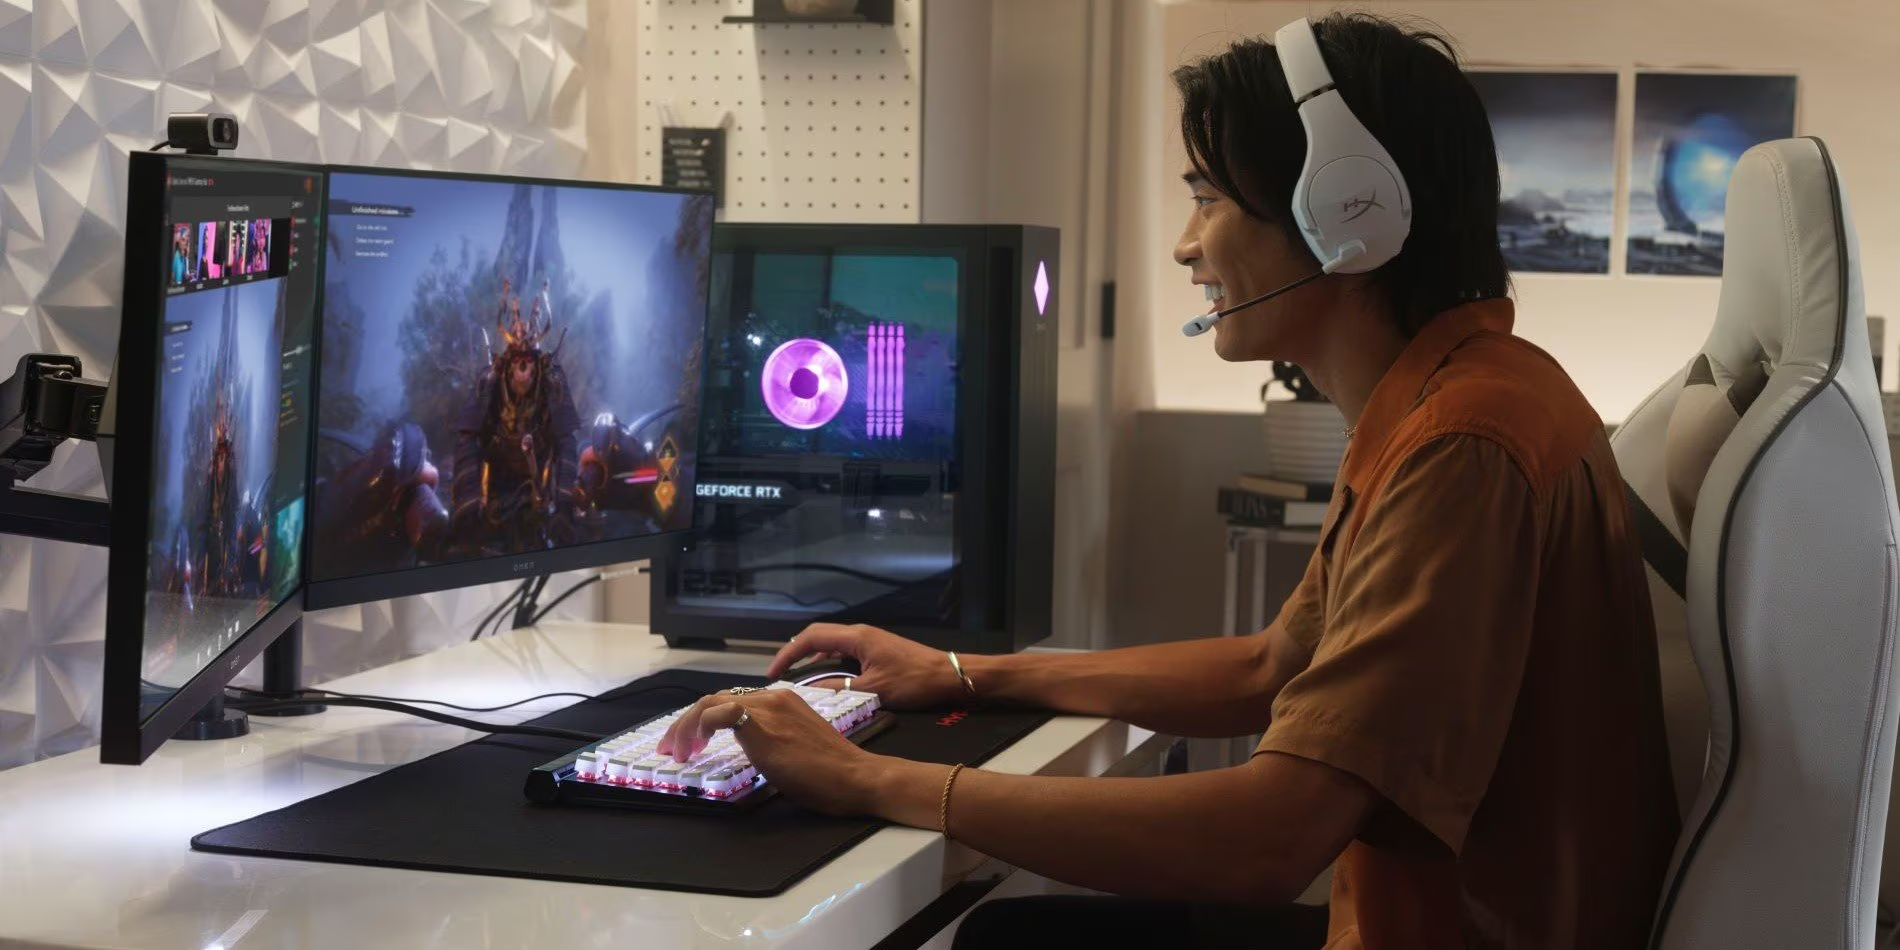
Gaming has surged in popularity, increasing the demand for high-performance gaming PCs. Building a custom gaming computer offers unmatched performance, customization, and value. This guide provides a step-by-step process to help both seasoned gamers and newcomers build the ultimate gaming rig.
Planning Your Build
Setting a Budget and Understanding Price-Performance Trade-offs
Before you start buying components, it’s crucial to set a budget. Gaming PCs can range from a few hundred to several thousand dollars, so understanding your financial limits will help you make informed decisions. When setting your budget, consider the price-performance trade-offs of each component. Investing in a high-end GPU might be worth it if you’re into demanding games, but if you’re a casual gamer, a mid-range option could provide a better balance of performance and cost.
Researching and comparing different models will help you find the best deals. Look for sales, discounts, and bundles to maximize your budget. Remember, the goal is to build a system that meets your gaming needs without breaking the bank.
Choosing the Right Components for Your Gaming Needs
Selecting the right components is critical for a successful build. Start by identifying the games you want to play and their system requirements. This will give you a baseline for the necessary CPU, GPU, and RAM. Future-proofing your build is also essential. Opt for components that offer room for upgrades, such as a motherboard with multiple PCIe slots or a power supply unit (PSU) with higher wattage.
When choosing a CPU, consider both the core count and clock speed. Modern games benefit from multi-core processors, but higher clock speeds also contribute to better performance. For the GPU, prioritize VRAM and bandwidth. More VRAM allows for higher-resolution textures, while increased bandwidth ensures smoother gameplay.
Don’t overlook the importance of RAM and storage. Aim for at least 16GB of RAM for modern gaming, with the option to upgrade to 32GB if needed. SSDs provide faster load times and improved overall performance, so consider a combination of SSD and HDD for the best of both worlds.
Step-by-Step Building Guide
Installing the CPU
Begin by installing the CPU onto the motherboard. Carefully align the CPU with the socket and gently press it into place. Secure it with the retention bracket, making sure not to apply excessive force. Once the CPU is installed, attach the cooling solution (either stock or aftermarket) to ensure proper heat dissipation.
Adding the RAM and Storage
Next, install the RAM sticks into the designated slots on the motherboard. Ensure they are seated correctly and locked in place. For storage, connect your SSD and HDD to the motherboard using the appropriate cables. Secure them in the drive bays, ensuring sufficient airflow around the components.
Mounting the Motherboard and PSU
With the core components installed, it’s time to mount the motherboard into the PC case. Align the motherboard with the standoff screws and gently lower it into place. Secure it with screws and connect the PSU to the motherboard. Make sure all connections are firm and secure.
Connecting the GPU and Final Assembly
Finally, install the GPU into the PCIe slot on the motherboard. Secure it with screws and connect the necessary power cables. Double-check all connections, ensuring everything is properly seated and secured. Close the case, and your gaming PC is ready for its first boot.
The Importance of Proper Cooling
Understanding Cooling Systems
Cooling is essential for maintaining optimal performance and longevity of your gaming PC. Overheating can lead to thermal throttling, reduced performance, and potential hardware damage. Therefore, investing in a good cooling solution is crucial.
Comparing Air Cooling vs. Liquid Cooling
There are two primary types of cooling systems: air cooling and liquid cooling. Air cooling uses fans to dissipate heat from the components. It’s an affordable and reliable option for most builds. However, it can be noisy and less effective for high-performance systems.
Liquid cooling, on the other hand, uses a coolant to transfer heat away from the components. It’s more efficient and quieter than air cooling, making it ideal for high-end builds. However, it can be more expensive and requires regular maintenance.
Choosing the Right Cooling System
When choosing a cooling system, consider your budget, performance requirements, and noise tolerance. For most gamers, a high-quality air cooler will suffice. However, if you’re planning to overclock your components or build a high-performance system, liquid cooling might be worth the investment.
Powering Up and Initial Setup
Selecting and Installing the Power Supply
Choosing the right PSU is critical for the stable operation of your gaming PC. Ensure the PSU provides enough wattage to power all your components, with some headroom for future upgrades. Install the PSU in the designated slot and connect it to the motherboard, GPU, and storage devices.
First Boot and System Setup
With all components installed, it’s time for the first boot. Connect your monitor, keyboard, and mouse to the PC and press the power button. Enter the BIOS/UEFI setup to configure initial settings, such as boot order and fan profiles. Save changes and exit the BIOS.
Installing the Operating System and Drivers
Install your preferred operating system (OS) using a bootable USB drive. Follow the on-screen instructions to complete the installation. Once the OS is installed, update drivers for your GPU, motherboard, and other components to ensure optimal performance.
Optimizing Your Gaming Experience
Adjusting Game Settings
Optimizing game settings can significantly enhance your gaming experience. Adjust graphics settings, such as resolution, texture quality, and anti-aliasing, to find the perfect balance between performance and visual quality. Use built-in benchmarks to test different configurations and make informed adjustments.
Enhancing Performance with Software
Various software tools can help optimize your gaming PC’s performance. Use utilities like MSI Afterburner for GPU overclocking and temperature monitoring. Applications like Razer Cortex can free up system resources and boost performance during gameplay.
Exploring Future Upgrades and Maintenance
Regular maintenance and timely upgrades are essential for keeping your gaming PC in top shape. Clean dust from fans and components to prevent overheating. Monitor hardware performance and replace aging components as needed. For expert assistance, consider PC repair like those in Salt Lake City. Stay informed about new technologies and consider upgrading your GPU, CPU, or RAM to keep up with the latest games.
Conclusion
Building your own gaming PC is a rewarding experience that offers numerous benefits. From customizing your hardware to optimizing performance, a custom build can elevate your gaming experience to new heights. With this guide, you have all the knowledge you need to start your own build journey.


